As a MackinVIA Administrator, you can add new resources (ebooks, databases, etc.), LTI resources, and other digital content to MackinVIA. Adding resources gives you the power to make MackinVIA the sole access point for your school/library’s digital content.
Once a resource has been added, your users will be able to search for and open the resource in MackinVIA. When the user opens the resource, MackinVIA will redirect the user to the external page of that resource.
To add a new resource, first, log into your MackinVIA Administrator account (https://www.mackinvia.com/Admin) with your Mackin.com email and password.
Go to Resources > Add New Resource (Make sure you select the correct VIA if you have administrator rights to more than one account).
To skip to a subsection of this topic, choose from the links below.
Add Resources Manually
Add LTI Resource from EduAppCenter
Add LTI Resource Manually
Adding Additional Resource Details
Add Resources Manually
Adding a resource manually lets you add existing content within MackinVIA, such as educational links, videos, and other digital content using your school’s Resource URL.
First, click the Add Resource Manually button:

Then enter the pertinent information about the new resource, including title, author, and resource URL, and click Save Changes.
Please Note: You must have an accurate URL or your users will not be able to access the resource. Additionally, the URL must start with either http:// or https://.
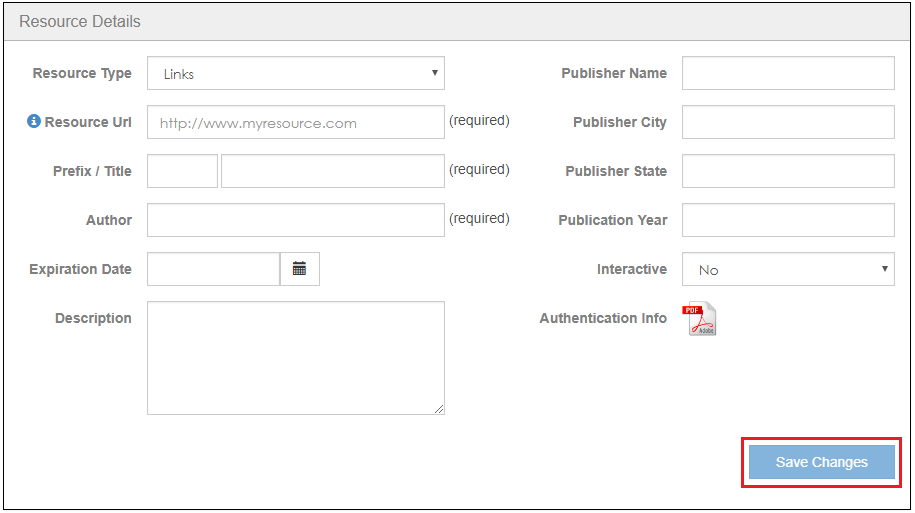
If you are adding a link or video, a Fetch Data button will appear after entering the URL. Click this button to initiate a metadata scan of the resource’s website. Our system will search for relevant information and fill in the fields automatically.
![]()
When you are finished, locate and click the Inactive button. The button will change to Active, and the resource will now be available to your users

Add LTI Resource from EduAppCenter
Select the Add LTI Resource from EduAppCenter button.

Search or browse for the resource in EduAppCenter.
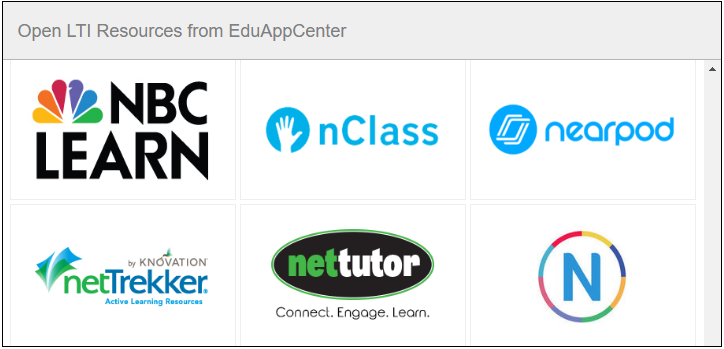
Select the desired resource and click Add Resource.

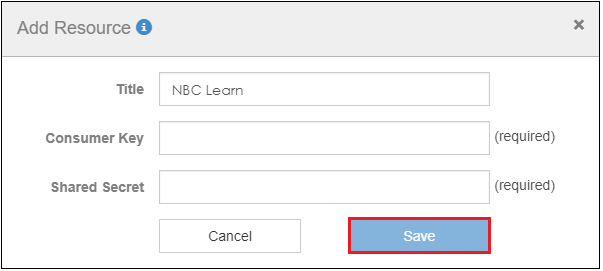
Enter the consumer key and shared secret. Click the Save button when you are finished. Please Note: The LTI data is supplied by the resource providers. Please contact them directly if you need help retrieving this information.
Enter any additional pertinent information about the resource and click Save Changes.
When you are finished, locate and click the Inactive button. The button will change to Active, and the resource will now be available to your users.

Add LTI Resources Manually
Select the Add LTI Resource Manually button.

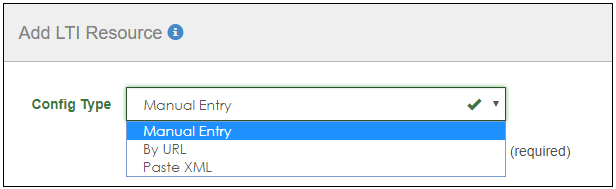
Choose the Config Type from the dropdown menu. The options are:
- Manual Entry: Configure your resource with launch URL and custom fields.
- By URL: Configure your resource with the configuration URL.
- Paste XML: Configure your resource with the XML code.
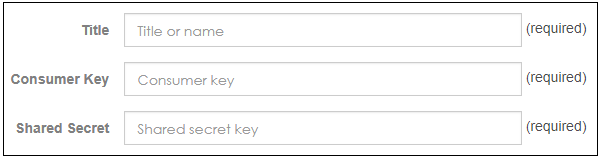
Enter the title, consumer key, shared secret, and any other required fields. Click the Save button when you are finished. Please Note: The LTI data is supplied by the resource providers. Please contact them directly if you need help retrieving this information.
After the configuration is complete, enter any additional pertinent information about the resource and clickSave Changes.
When you are finished, locate and click the Inactive button. The button will change to Active, and the resource will now be available to your users.
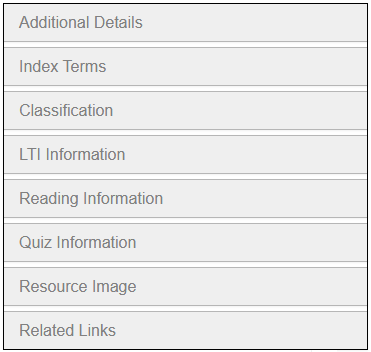
Adding Additional Resource Details
Once you have clicked Save Changes and created the resource, additional tabs will appear. You can use these tabs to enter additional details about the resource, making it easier for your users to find it within MackinVIA. Please Note: The tabs listed may differ depending on the type of resource being added to MackinVIA.