MackinVIA can be integrated with Schoology, providing users with greater accessibility to your digital collection. This connection allows librarians and teachers to access their Backpack accounts within the learning management system (LMS) and add MackinVIA resources or groups to courses. Additionally, MackinVIA will be available from the course menu.
Important note: The ability to configure apps at the school level as described below is in limited availability within Schoology. Your district’s System Administrator will need to reach out to Schoology’s Client Success Manager to enable this feature.
To skip to a subsection of this topic, choose from the links below.
Access LTI Data
Add and Configure MackinVIA App for Each School
Add Resources/Groups to a Course
Access LTI Data
To set up the Schoology integration, you will need the Learning Tools Interoperability (LTI) data from your MackinVIA account.
Log into your MackinVIA Administrator account (https://www.mackinvia.com/Admin) with your Mackin.com email address and password.
Go to Settings > Integrations.
Select the Learning Tools Interoperability tab and copy the LTI Consumer Key and LTI Shared Secret using the buttons below the information.

This data is now ready to be pasted into Schoology.
Add and Configure MackinVIA App for Each School
Important note: The ability to configure apps at the school level as described below is in limited availability within Schoology. Your district’s System Administrator will need to reach out to Schoology’s Client Success Manager to enable this feature.
To install MackinVIA as a system administrator:
After signing in to your account, click on the App Center icon at the top of Schoology, then click App Center.


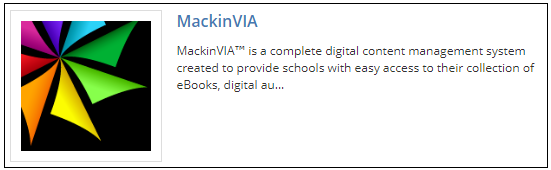
Locate the MackinVIA app.
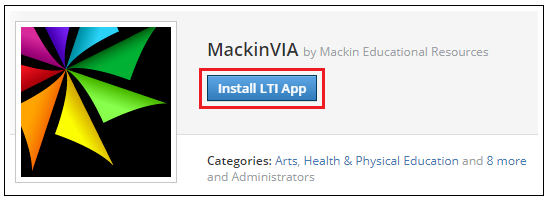
Click Install LTI App.
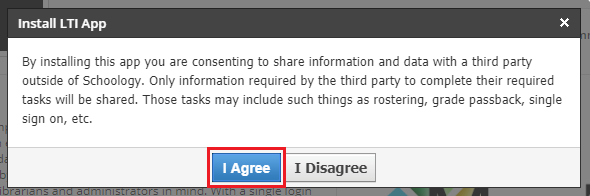
Click I Agree.
Click Add to Organization.

You will be taken to Organization Apps to continue the installation.
Click Install next to the MackinVIA app.
Select either All Schools or Specific Schools. Then Next.
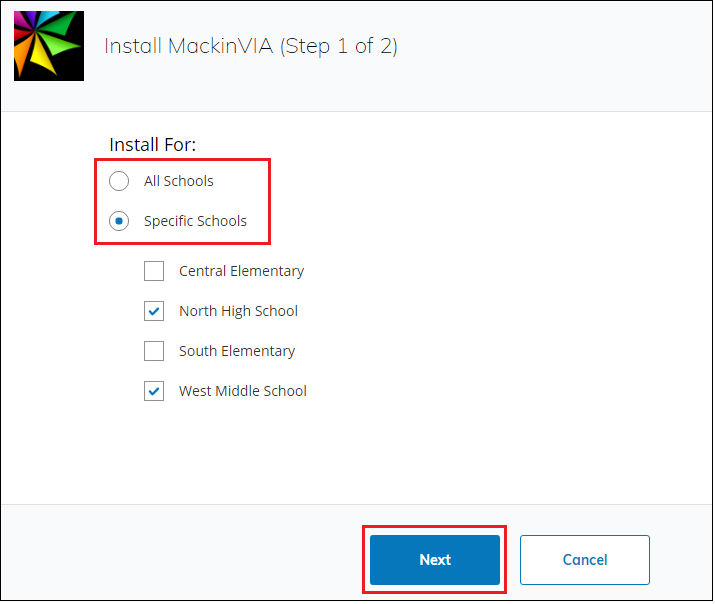
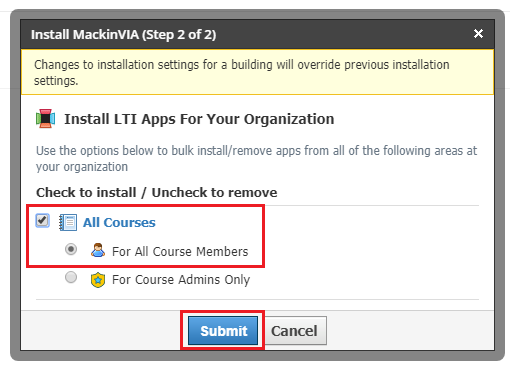
You will have the option to install for either All Course Members or For Course Admins only. It is recommended that you select For All Course Members.
To configure the MackinVIA app at the building level:
If you are not already in the App Center, Click the App Center icon ![]() at the top of Schoology, then click App Center.
at the top of Schoology, then click App Center.
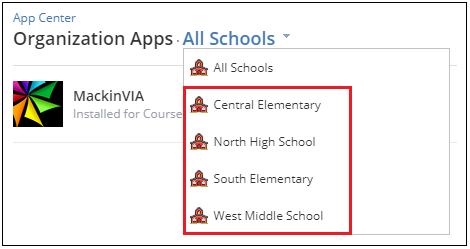
Click Organization Apps under the header at the top of Schoology. Select the school building you wish to configure the app for from the All Schools drop-down menu:
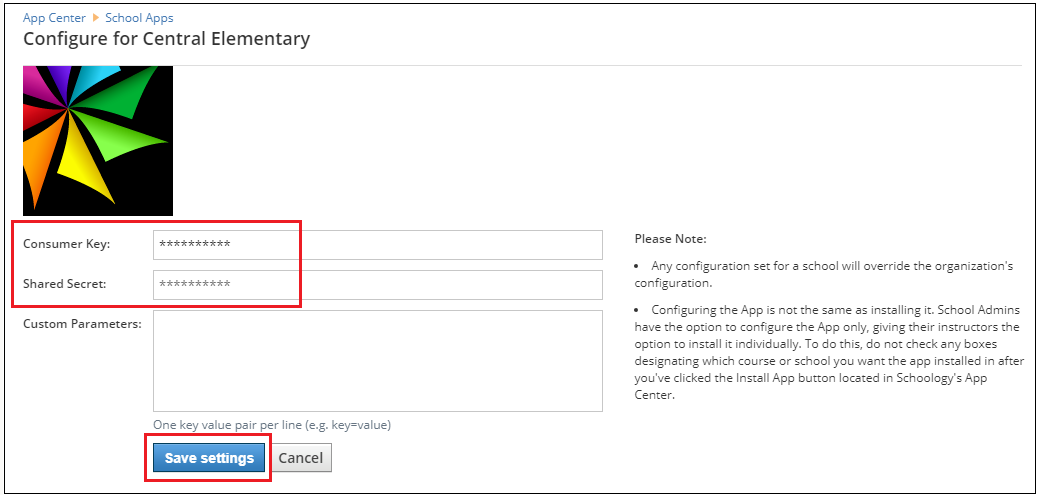
Locate the app and click Configure.

Enter the LTI data that you copied from your MackinVIA Administrator account. Click Save settings to complete.
Repeat Configure steps for all schools that you would like to give access to MackinVIA.
Add Resources/Groups to a Course
Click Add Materials and select MackinVIA.
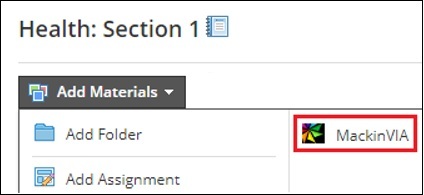
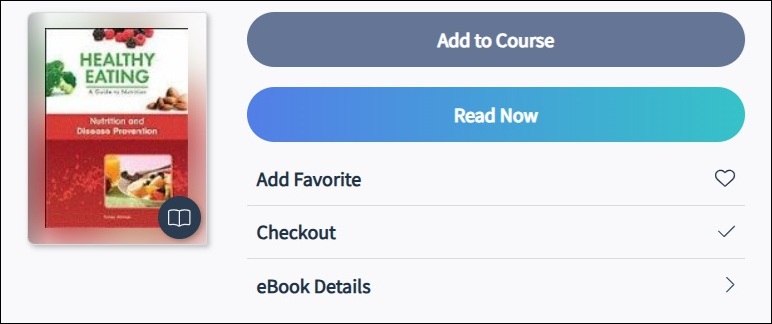
Log into your Backpack and search for the desired MackinVIA resource or group. Click Add to Course to select it. (Please Note: The “User Role” in your Backpack must be designated as “Staff” in order to add resources/groups.)
Resource:
Group:

After a MackinVIA resource or group is added to Schoology, users will click on the link and log into MackinVIA. Users can view the resource or group and take notes from within Schoology.