To skip to a subsection of this topic, choose from the links below.
Create Individual Backpack Accounts
Create Multiple Backpack Accounts
Deactivate Backpack Accounts
Edit Backpack Accounts
Backpack Authentication
Create Individual Backpack Accounts
As a MackinVIA Administrator, you can create Backpacks accounts for your staff and students, either individually or through an import of user data.
To create individual Backpacks, first log into your MackinVIA Administrator
account (https://www.mackinvia.com/Admin) with your Mackin.com email address and password.
Go to Users > Backpacks (make sure to select the correct VIA if there is more than one account).

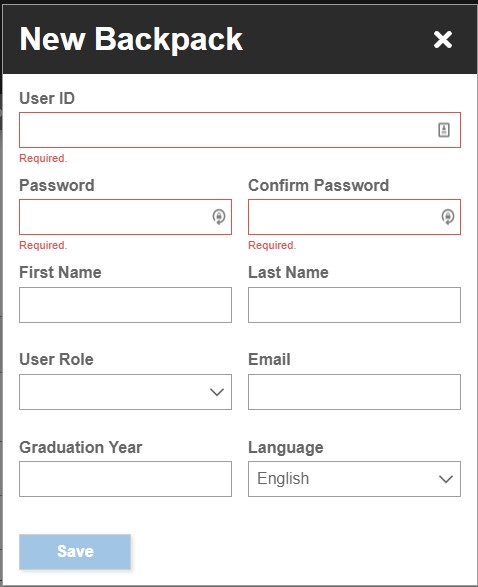
Select Register New Backpack.
![]()
Fill out the user information and click Save Backpack. A user ID and password are the minimum requirements. Optional information includes first name, last name, user role, email address, and graduation year. Please Note: Email addresses will only be used to notify users that a requested title is available for check out and when a checkout, request, or hold has been canceled by the administrator.
Create Multiple Backpack Accounts
As a MackinVIA Administrator, you can utilize the Backpack Import tool to upload a file and create multiple Backpack accounts.
First, log into your MackinVIA Administrator account (https://www.mackinvia.com/Admin) with your Mackin.com email address and password.
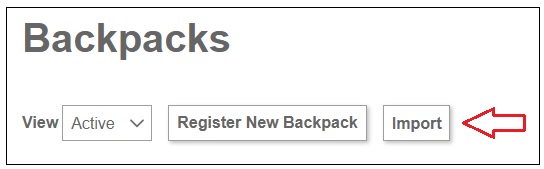
Go to Users > Backpacks. (Make sure you select the correct VIA if there is more than one account.)
Click the Import button.
The Backpack Import wizard introduction page will open. Click Next to proceed through the import process.

Click the Choose File button to select the file to upload. The file name will populate next to the button. If your file does not contain a header row*, select no from the drop-down menu. Click Upload. (Important: The file must to be saved in .csv format to successfully complete the upload.)
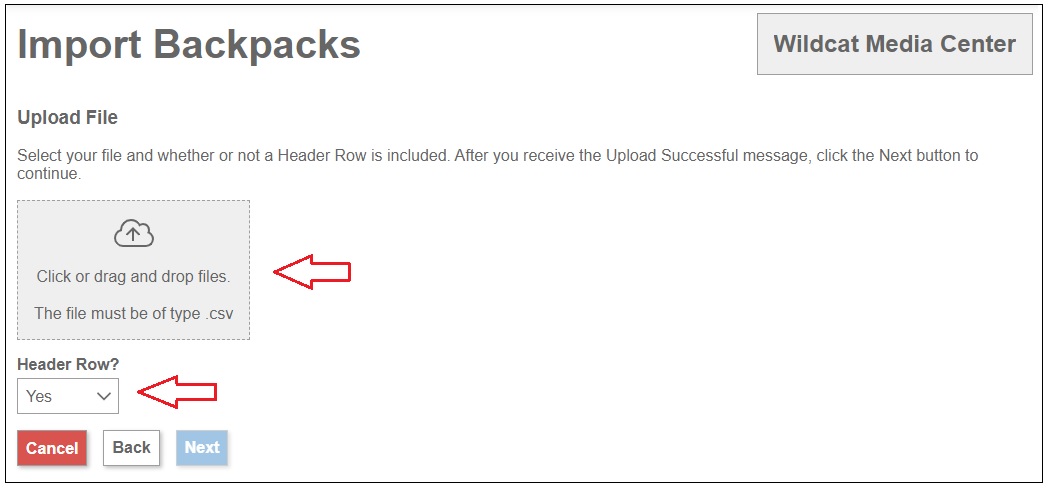
* A header row is useful in mapping the data to the Backpack account. The following is a recommended header row template. At a minimum, the User ID and Password from the .csv file must match to the corresponding Backpack field. The remaining fields, Fist Name, Last Name, Email Address, Patron ID, and Graduation Year, are optional.

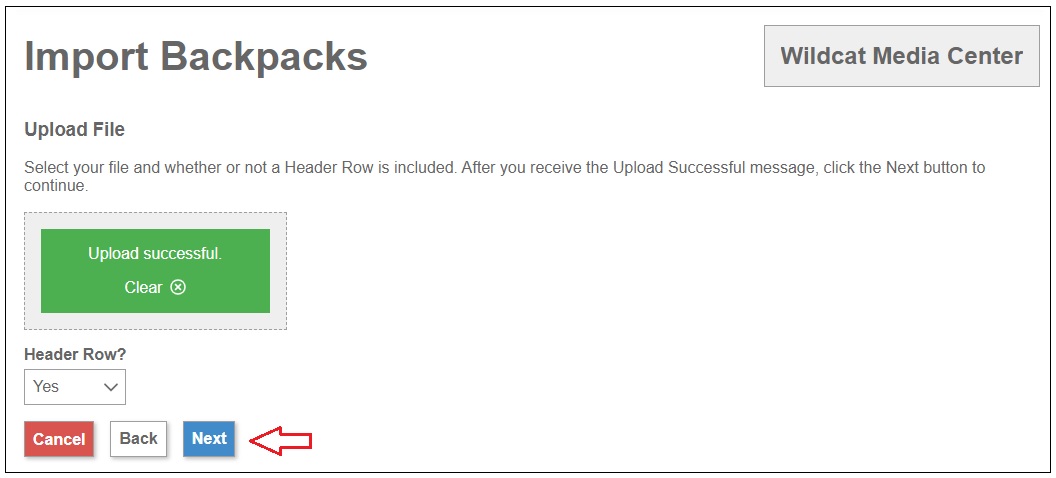
Backpack Import Successful! appears when the file is successfully loaded. The process is not fully complete. Click Next for the final steps.
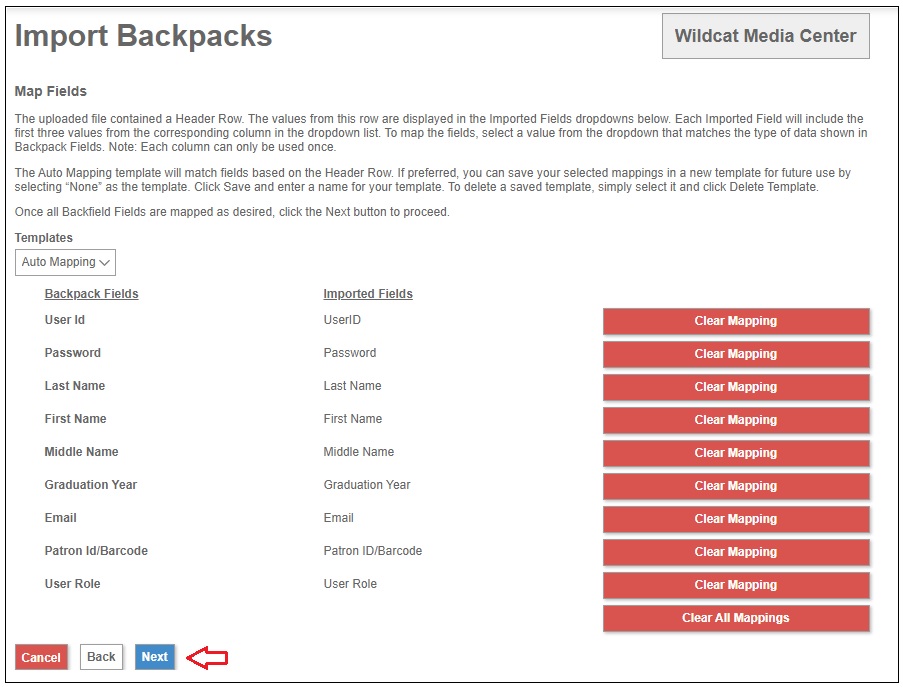
The option to Map Fields allows you to match the data from the imported .csv file to the corresponding Backpack fields. If you selected yes for the header row in the previous step, the Auto Mapping option will attempt to automatically match fields. All unmatched fields will provide a drop-down box for you to select the appropriate data.
Click Next to continue.
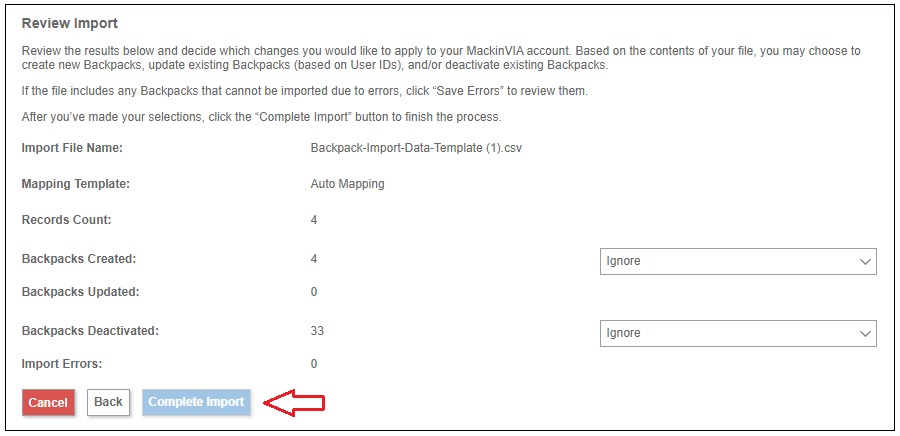
The final step is to Apply or Ignore creating new Backpacks, updating Backpacks, or deactivating Backpacks.
- Backpacks Created – Will set up new Backpacks.
- Backpacks Updated – Will update information in Backpacks that were previously created. (The system matches on User ID.)
- Backpacks Deactivated – Will deactivate all Backpacks that are not on the .csv file.
- Import Errors – Will open a spreadsheet of errors that occurred during the import process. These Backpacks will NOT be created. The information must to be corrected and then added separately. Important: Save this spreadsheet prior to completing the import.
Click the Complete Import button to finalize the import.
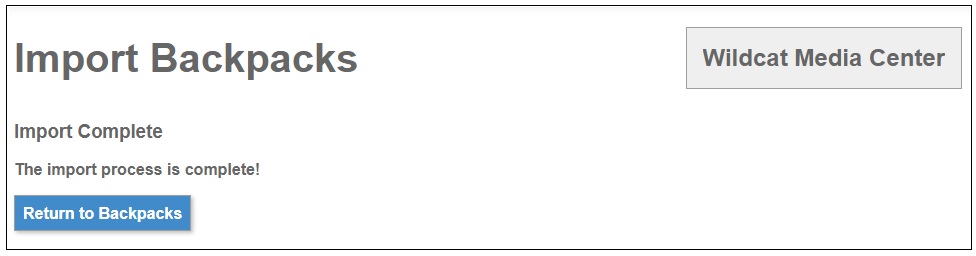
The Import Complete will display upon a successful import.
Deactivate Backpack Accounts
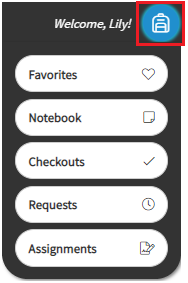
Individual Backpack accounts can be enabled or disabled by MackinVIA administrators. Likewise, the Backpacks feature itself is optional: MackinVIA administrators can choose to enable or disable this feature. NOTE: If the Backpacks feature is disabled, Checkouts, Requests, Notebook and Favorites cannot be enabled, and the Backpack icon is not visible on the patron website.
To deactivate an existing Backpack account, first log into your MackinVIA Administrator account (https://www.mackinvia.com/Admin) with your Mackin.com email address and password.
Choose Users > Backpacks (make sure you select the correct VIA if there is more than one account).

Click Edit next to the name of the account you want to edit.

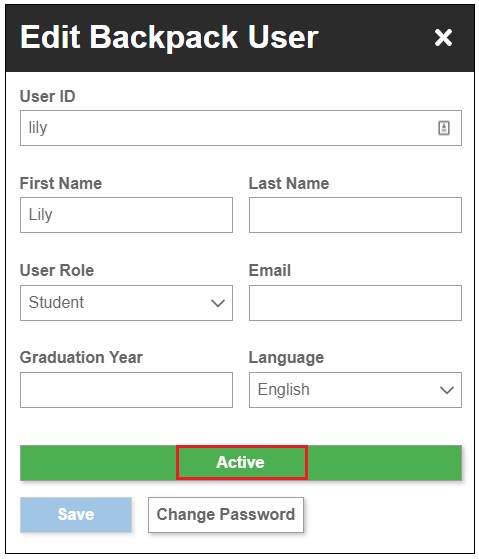
To deactivate an existing Backpack account, click the Active button to change the button to Inactive. Make sure to click Save Backpack to save your changes.
Edit Backpack Accounts
As a MackinVIA administrator, you can edit Backpack information for students. Individual students can also edit their own Backpacks.
To edit Backpack information (including User ID, Password, First Name, and Email Address) once an account has been created, first log into your MackinVIA Administrator account (https://www.mackinvia.com/Admin) with your Mackin.com email address and password.
Choose Users > Backpacks (make sure you select the correct VIA if there is more than one account).

Click Edit next to the name of the account you want to edit.
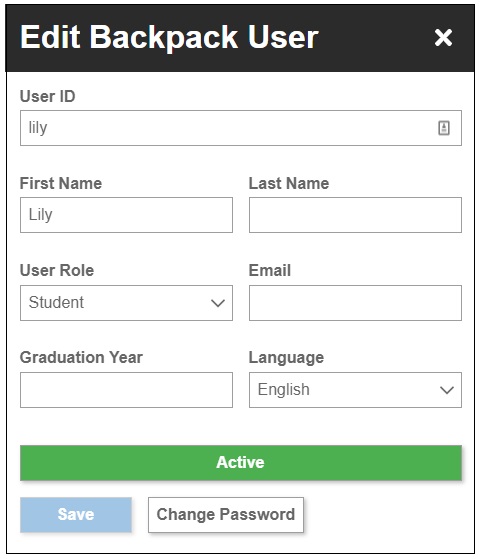
In the dialog window, edit the information you want to change.
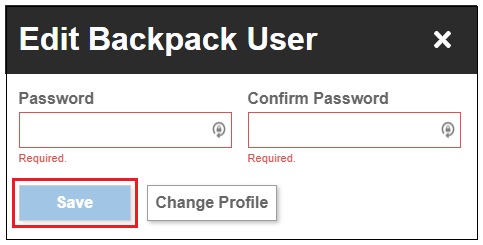
To edit a password, click the Change Password button.
![]()
When finished, click Save to save your changes.
Backpack Authentication
Backpack Authentication will connect MackinVIA to your school or library’s user management system. This connection will retrieve user data to automatically create MackinVIA Backpacks and determine how users will log into MackinVIA. (Please note: The ability to edit or deactivate backpack accounts from your MackinVIA administrative account will no longer be available. Instead, any changes will need to be made through your school or library’s user management system.)
View more information about Backpack Authentication here.